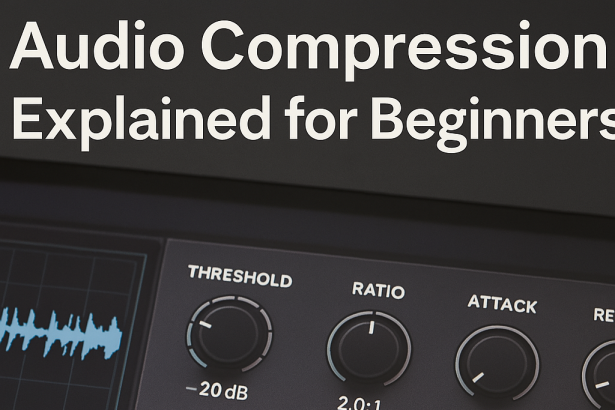
Understanding Audio Compression for Beginners in Music Production
🎧 Introduction
Audio compression is one of the most essential tools in music production. Whether you’re mixing vocals, drums, or a full track, a compressor can transform your sound from amateur to professional. But for beginners in MAO (Musique Assistée par Ordinateur / computer-based music production), the concept can feel intimidating. Let’s break it down in simple terms, explain why it matters, how it works, and explore the key settings you’ll use on any compressor.
🤔 What Is Audio Compression and Why Use It?
Compression is the process of reducing the dynamic range of an audio signal. In simple words, it controls the difference between the loudest and softest parts of your sound.
Here’s why you need it:
It makes vocals sound more consistent.
It gives drums more punch.
It helps glue instruments together in a mix.
It prevents sudden volume spikes.
Without compression, your mix may feel uneven, flat, or uncontrolled.
⚙️ How Does Compression Work?
Imagine a hand automatically turning the volume knob down whenever your sound gets too loud—that’s essentially what a compressor does.
When the volume exceeds a certain point (called the threshold), the compressor reduces the level based on a set ratio. It acts fast or slow depending on the attack and release settings.
The goal: smooth out the peaks without killing the vibe or dynamic feel of the track.
🛠️ Compressor Parameters Explained
Threshold – The level at which compression kicks in. Lower threshold = more compression.
Ratio – How much the signal is reduced. A 4:1 ratio means for every 4dB over the threshold, only 1dB gets through.
Attack – How quickly the compressor reacts. Fast attack = tighter control. Slow attack = more punch.
Release – How quickly the compressor stops reducing the signal after it drops below the threshold.
Make-Up Gain – Boosts the compressed signal back to a desired volume level.
Knee – Controls how smoothly the compression is applied. A “hard knee” acts suddenly; a “soft knee” eases into it.
🧪 Free and Paid Compressors Worth Using
🎁 Free Compressors
TDR Kotelnikov – Clean, transparent compression ideal for mastering
RoughRider 3 by Audio Damage – Great for punchy drums and aggressive sounds
Molot by VladG – Vintage character with deep control
💼 Paid Compressors
FabFilter Pro-C 2 – Highly visual, versatile, and feature-packed
Waves CLA-2A / CLA-76 – Classic emulations with a signature tone
UAD 1176 / LA-2A Collection – Top-tier analog modeling (hardware-like sound)
🎯 Conclusion
Mastering audio compression is a game-changer in music production. Once you understand the basic controls—threshold, ratio, attack, and release—you’ll start hearing how your mixes become tighter, more powerful, and more professional. Whether you’re using free plugins or investing in pro-grade tools, compression is your secret weapon for dynamic control and sonic polish.
📌 Start experimenting with free plugins, and build your compression intuition one knob at a time.
![]()


