Understanding Compression in Music Production: A Beginner’s Guide to Control and Punch
Introduction
Compression is one of the most fundamental tools in music production. From vocals to drums to synths, it helps shape dynamics and bring consistency to your mix. But for beginners, compression can feel mysterious—full of knobs and acronyms that are easy to misuse. This article explains what compression is, why it matters, and how to set it up properly for modern music production.
What Is Audio Compression?
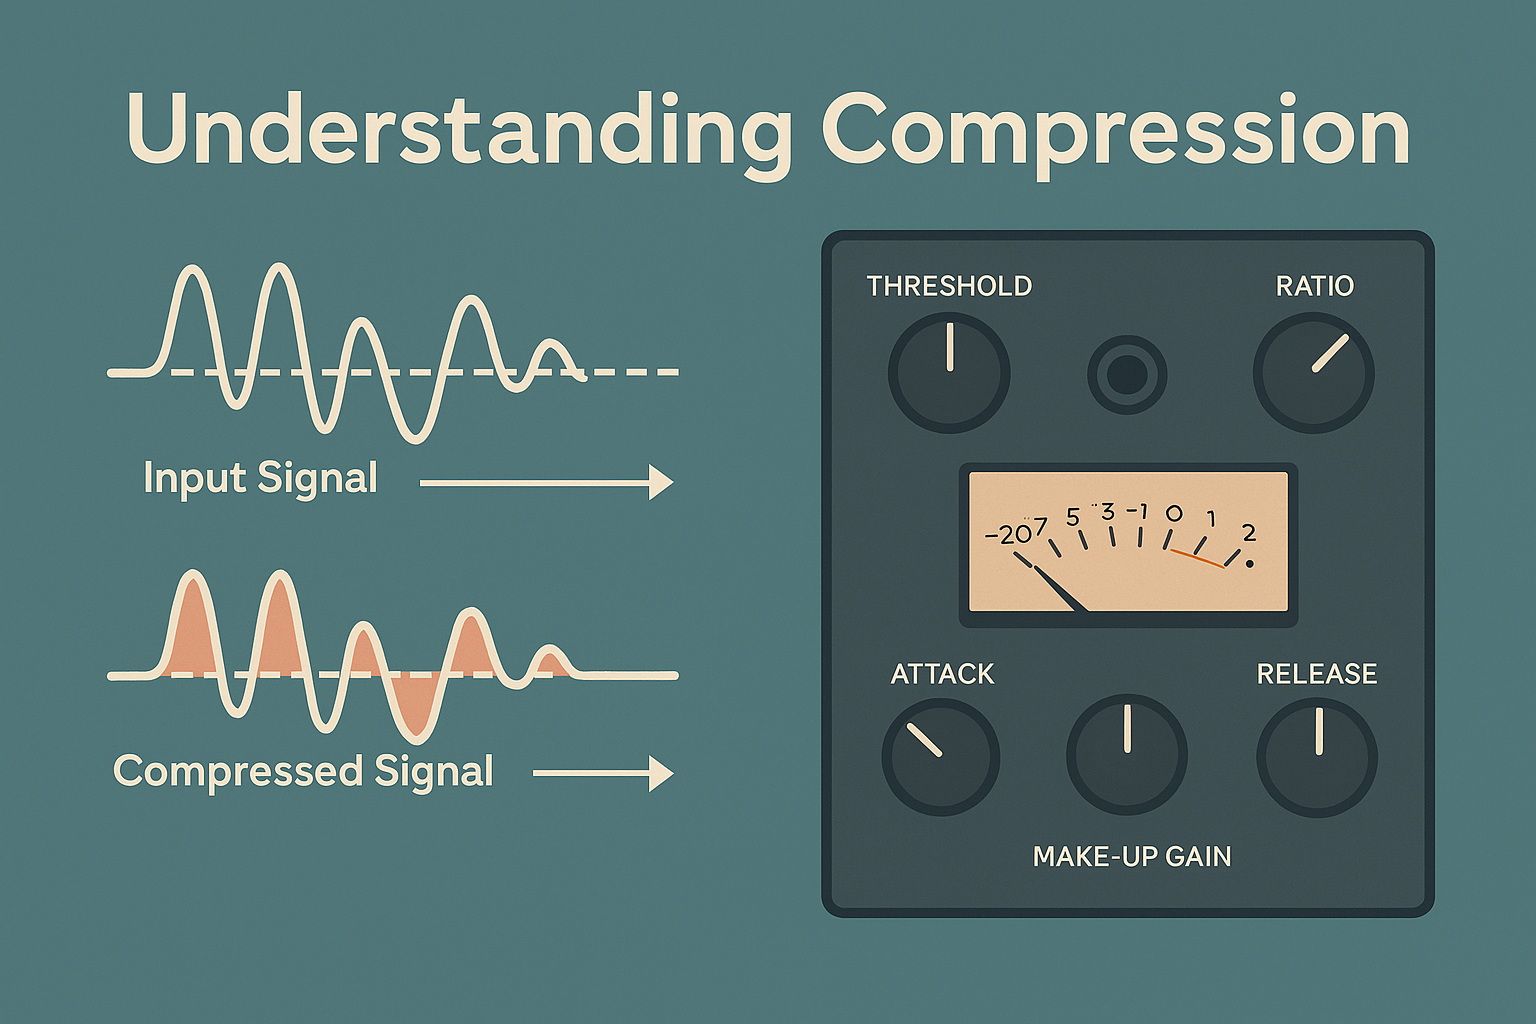
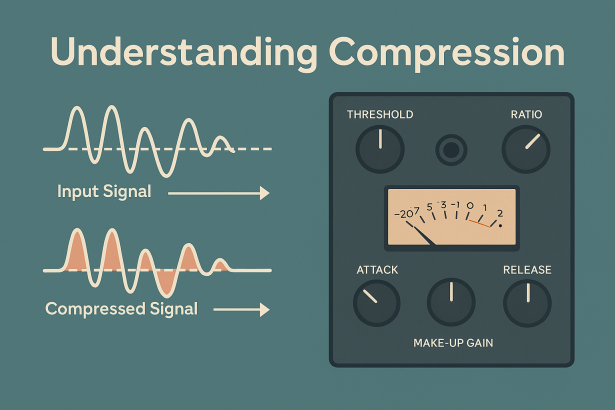
Compression reduces the dynamic range of a signal—the difference between its loudest and softest parts. In practice, this means it lowers the volume of the loudest parts and brings up the quiet ones, resulting in a more balanced, controlled sound.
Why use compression?
- Keeps vocals and instruments consistent
- Adds punch and energy to drums and bass
- Glues the mix together
- Prevents clipping and harsh volume jumps
How Does Compression Work?
When a sound passes a certain threshold, the compressor reduces its volume according to a ratio. Once the signal drops below that threshold, the compressor stops acting.
Here’s a basic breakdown:
- Threshold: The volume level where compression begins.
- Ratio: How much compression is applied. A 4:1 ratio means every 4dB over the threshold is reduced to 1dB.
- Attack: How quickly the compressor responds. Fast attack = tight control. Slow attack = more natural punch.
- Release: How quickly the compressor stops acting.
- Make-Up Gain: Boosts the compressed signal back to a desired level.
- Knee: Controls how gradually or abruptly the compression starts.
Common Uses of Compression in a Mix
✅ Vocals – Smooth out performance, tame peaks
✅ Drums – Add punch to snares, glue drum buses
✅ Bass – Keep level consistent without jumping
✅ Mix Bus – Light compression to unify the track
✅ Parallel Compression – Blend a compressed signal with the dry signal for added energy
Practical Compression Settings for Beginners
- Vocals:
Ratio: 3:1 to 5:1
Attack: 5–10ms
Release: 40–100ms
Gain Reduction: 3–6dB - Kick/Snare:
Ratio: 4:1
Fast Attack & Release for punch - Bass:
Ratio: 4:1 to 6:1
Slow attack to preserve transient punch
Tip: Use your ears! Every sound is different. Start with subtle settings and adjust as needed.

Free and Paid Compressor Plugins to Try
Free Plugins
- TDR Kotelnikov – Transparent mastering-grade compression
https://www.tokyodawn.net/tdr-kotelnikov/ - RoughRider 3 – Aggressive, punchy compression for drums
https://www.audiodamage.com/pages/free-downloads - ReaComp (ReaPlugs) – Versatile and lightweight
https://www.reaper.fm/reaplugs/
Paid Plugins
- FabFilter Pro-C 2 – Visual feedback, advanced controls
https://www.fabfilter.com/products/pro-c-2-compressor-plug-in - Waves CLA-76 / CLA-2A – Classic character compressors
https://www.waves.com/bundles/cla-classic-compressors - UAD 1176 / LA-2A Collection – Faithful analog-style models
https://www.uaudio.com/uad-plugins/compressors-limiters.html
Tips for Better Compression
- Always bypass the compressor to compare before/after.
- Don’t compress everything—leave room for dynamics.
- Use parallel compression on drums or vocals for energy.
- Watch your meters—too much gain reduction kills the groove.
Conclusion
Compression isn’t just about volume control—it’s about shaping energy, vibe, and consistency. Once you understand the basic parameters, you can apply it creatively and musically. Whether you want a tight pop vocal or a slamming techno kick, compression gives you the control to make your sound hit harder and feel cleaner.
Download a free compressor, test it on vocals and drums, and learn to hear the magic of a well-balanced mix.
![]()


